
- 1 Introduction
- 1.1 About Zdoo
- 1.2 Zdoo Features
- 1.3 Technical Support
- 1.4 Zdoo License
- 2 Install and Upgrade
- 2.1 ZDOO Installation (for all systems)
- 2.2 One-click Installation Package for Windows (Recommended)
- 2.3 One-click Installation Package for Linux
- 2.4 Upgrade Zdoo
- 2.5 Zdoo Cloud
- 2.6 Remove zdoo from the address
- 2.7 Data Backup
- 2.8 Install Ioncube
- 2.9 Install php-zip
- 3 CRM
- 3.1 CRM Workflow
- 3.2 Add Product
- 3.3 Add Customer
- 3.4 Create Order
- 3.5 Sign Contract
- 3.6 Manage Contact
- 3.7 Manage List
- 3.8 Manage Supplier
- 3.9 CRM Settings
- 3.10 CRM Report
- 4 OA
- 4.1 Todo
- 4.2 Review
- 4.3 Announcement
- 4.4 Attendance
- 4.5 Leave
- 4.6 Makeup
- 4.7 Overtime
- 4.8 Business Trip
- 4.9 Reimbursement
- 4.10 Lieu
- 4.11 Egress
- 4.12 Holiday
- 4.13 Settings
- 5 Cashflow(Cash)
- 5.1 Introduction
- 5.2 Basic Settings
- 5.3 Add Bank Account
- 5.4 Manage Account
- 5.5 Keep Account
- 5.6 Batch keep accounts and import
- 5.7 Reconciliation
- 5.8 Report
- 6 Project (Proj)
- 6.1 Project Workflow
- 6.2 Create Project
- 6.3 Create Task
- 6.4 Actions in a project
- 6.5 Action Views
- 6.6 Actions in a task
- 7 Document(Doc)
- 7.1 Introduction
- 7.2 Create Document Library
- 7.3 Create Document
- 8 TEAM
- 8.1 Introduction
- 8.2 Settings
- 8.3 Modules
- 9 Inventory(PSI)
- 10 Flow
- 10.1 Introduction
- 10.2 Built-in Flows
- 10.3 Features
- 10.4 Examples
- 11 Ameba
- 11.1 Amoeba Management
- 11.2 Start Ameba
- 11.3 Ameba Category
- 11.4 Ameba Department
- 11.5 Expense Distribution Rules
- 11.6 Income Distribution Rules
- 11.7 Ameba Budget
- 11.8 Ameba Trade
- 11.9 Ameba Report
- 12 Administration
- 12.1 Settings
- 12.2 User
- 12.3 Privileges
- 12.4 Apps
- 12.5 Email settings
- 13 Integration
- 13.1 Introduction
- 13.2 Integrate ZenTao
- 14 Customization
- 14.1 Get Ready
- 14.2 Zdoo Directory
- 14.3 Find the Code
- 14.4 Database Structure
CRM Settings
- 2016-09-01 09:08:29
- tengfei
- 8321
- Last edited by MCFEY on 2020-05-18 10:20:35
1. Go to "CRM"->"Settings", and you will see the page below. The latest Zdoo has customer pool, which you can set a contact to the pool within certain days. The default value is 0, which means this function is disabled.

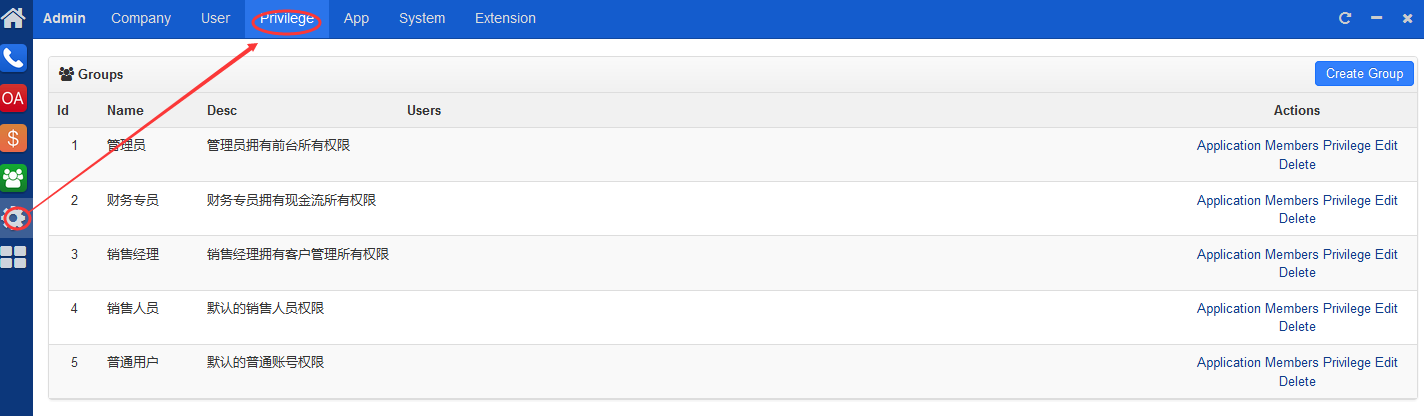
For privileges, you have to go to "Admin"->"Privilege" to customize permissions.
2. Maintain sales team
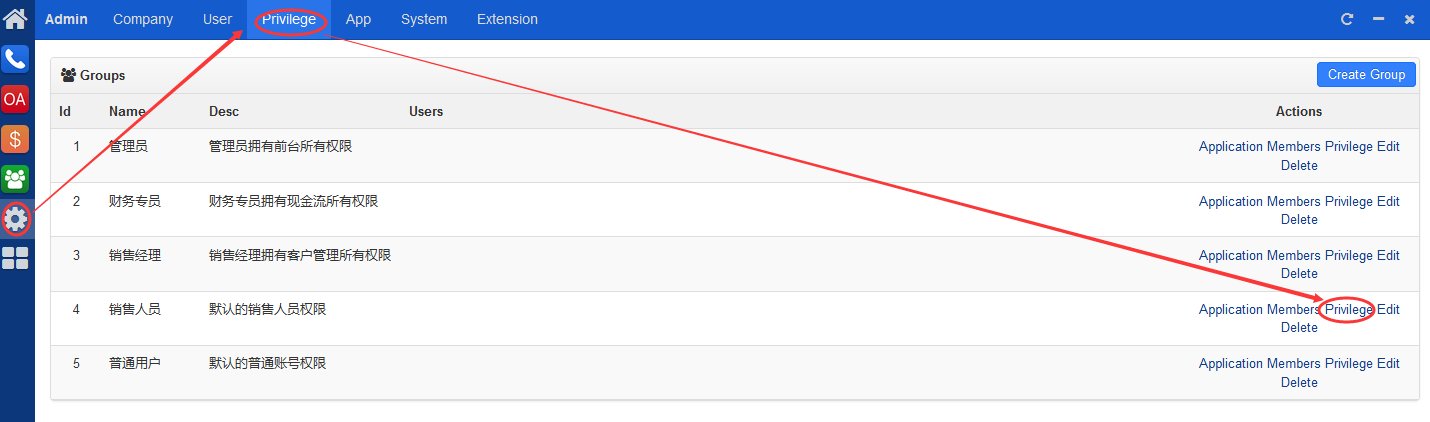
Go to "Admin"->"Privilege"->"customer", and assign permissions to the sales team first.
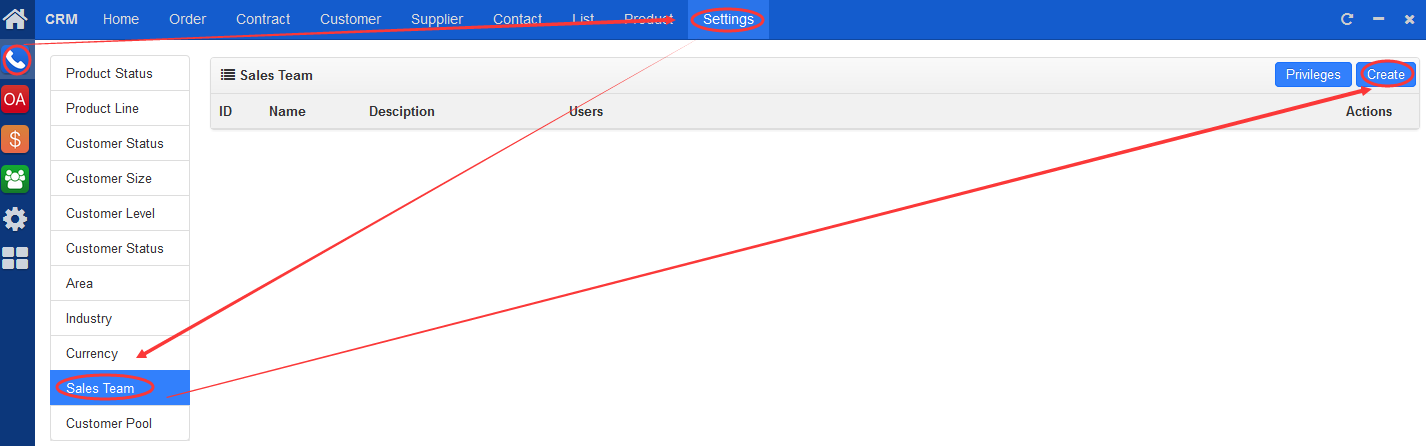
Then go to CRM->Settings and click "Create" at the upper right of the page to add a team.
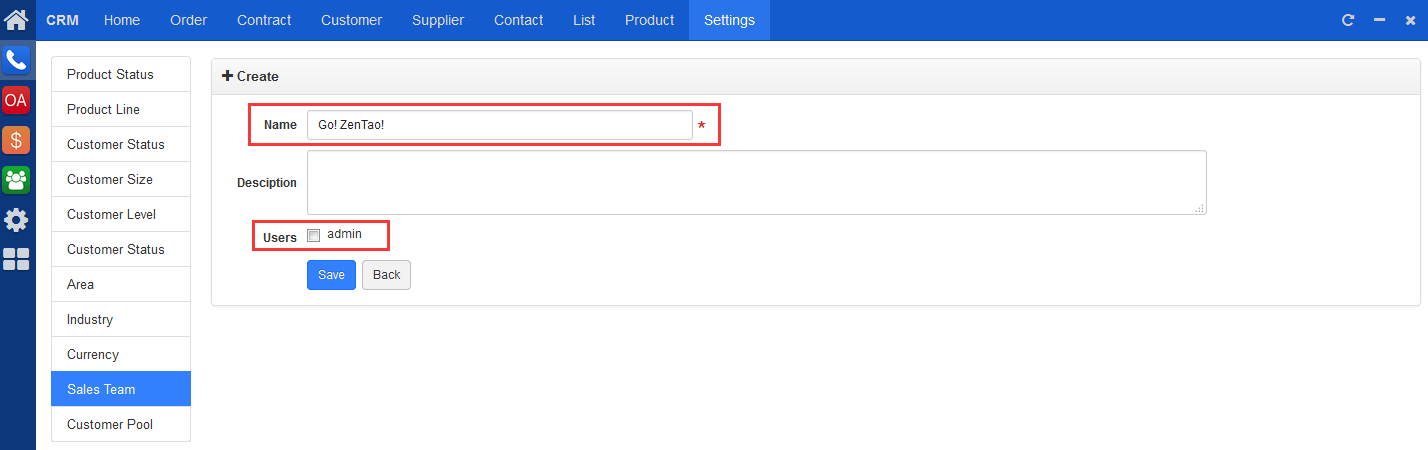
Fill in group name and description. Check members you want to add to this group.
Once the group is added, you can see the group in group list and edit/delete it there.
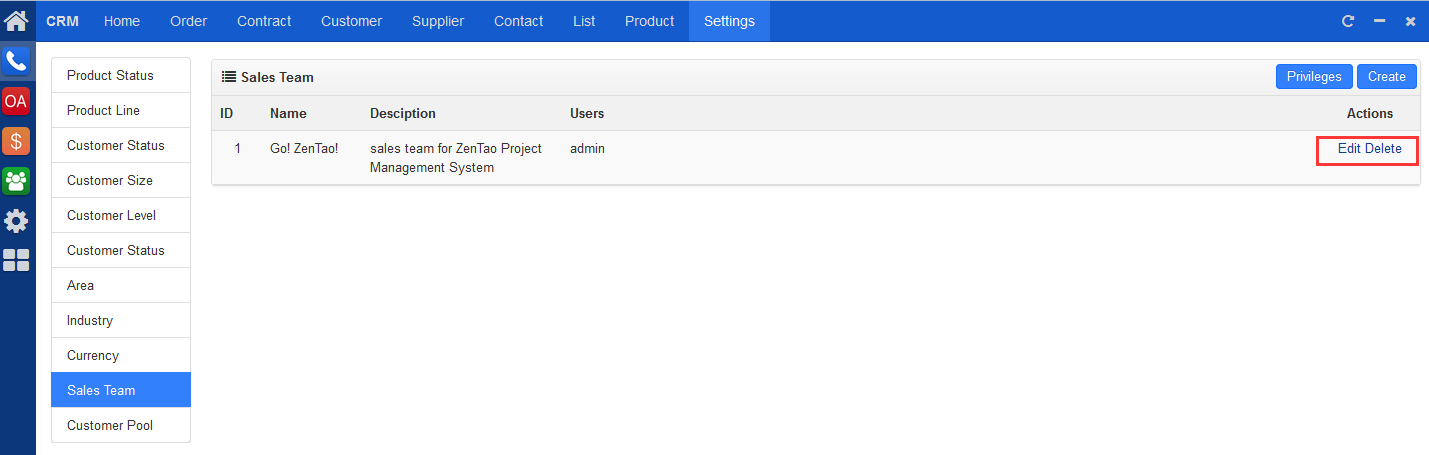
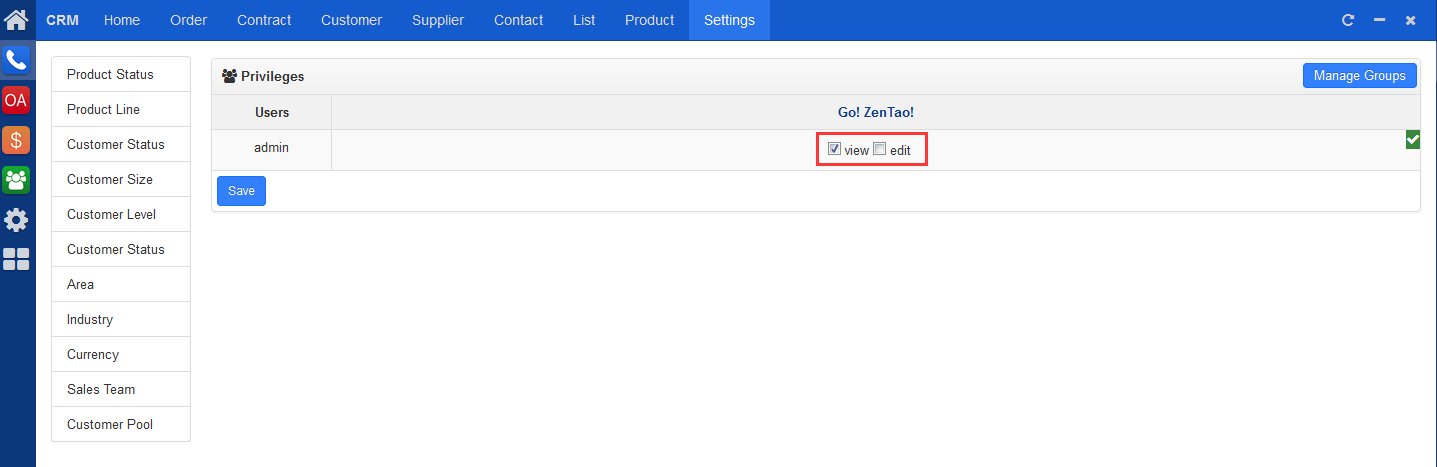
Click "Privileges" to check privileges you want to assign to this group.
CUSTOMERS
PRODUCTS
SUPPORT
CONTACT US
- Email: Philip@easycorp.ltd
- Skype: philip517
- Whatsapp: +86 185 6395 3295


